The Google Pixel Camera
My Google Pixel 2 in Kinda Blue
Although a smartphone camera was not the first camera that I used or even owned, it was during the time I was using my first smartphone that I became interested in this photography thing. Overtime as I became more interested in photography, I eventually graduated to using a bigger, dedicated camera system. Therefore, my phone camera was left to purely day to day snapshots.
But about two and a half years ago, I got the Google Pixel 2 frankly because I did not have a working smartphone. While I heard many things about how the Pixel’s camera was really good, that was not the main selling feature for me since I figured that I could just use my dedicated camera if I wanted to do any real photography. Regardless, I still enjoyed taking pictures with the Pixel 2. And even though it could only save the JPG files, I was very pleased with the amount of dynamic range and detail it was able to capture over the smartphones that I used in the past. And my favorite feature is probably the simple fact that the best quality images come from using the auto settings.
A year after its release, Google announced their next phone – the Google Pixel 3. But along with that, they also updated the Pixel 2 with a lot of the new camera features via a software update including night sight and raw photo support. With raw photo support and the Adobe Lightroom mobile (and the Lightroom CC desktop app), it allowed me to create a nice little workflow for when I wanted to do photography without my bigger, dedicated camera. It is pretty cool how you can start editing a photo using Lightroom mobile and then finish editing and export using the Lightroom CC desktop app with all your edits seamless synced between. This workflow is perfect for my phone pictures as I can export an edit from my phone for Instagram stories or export from my desktop for using in my blog posts for example.
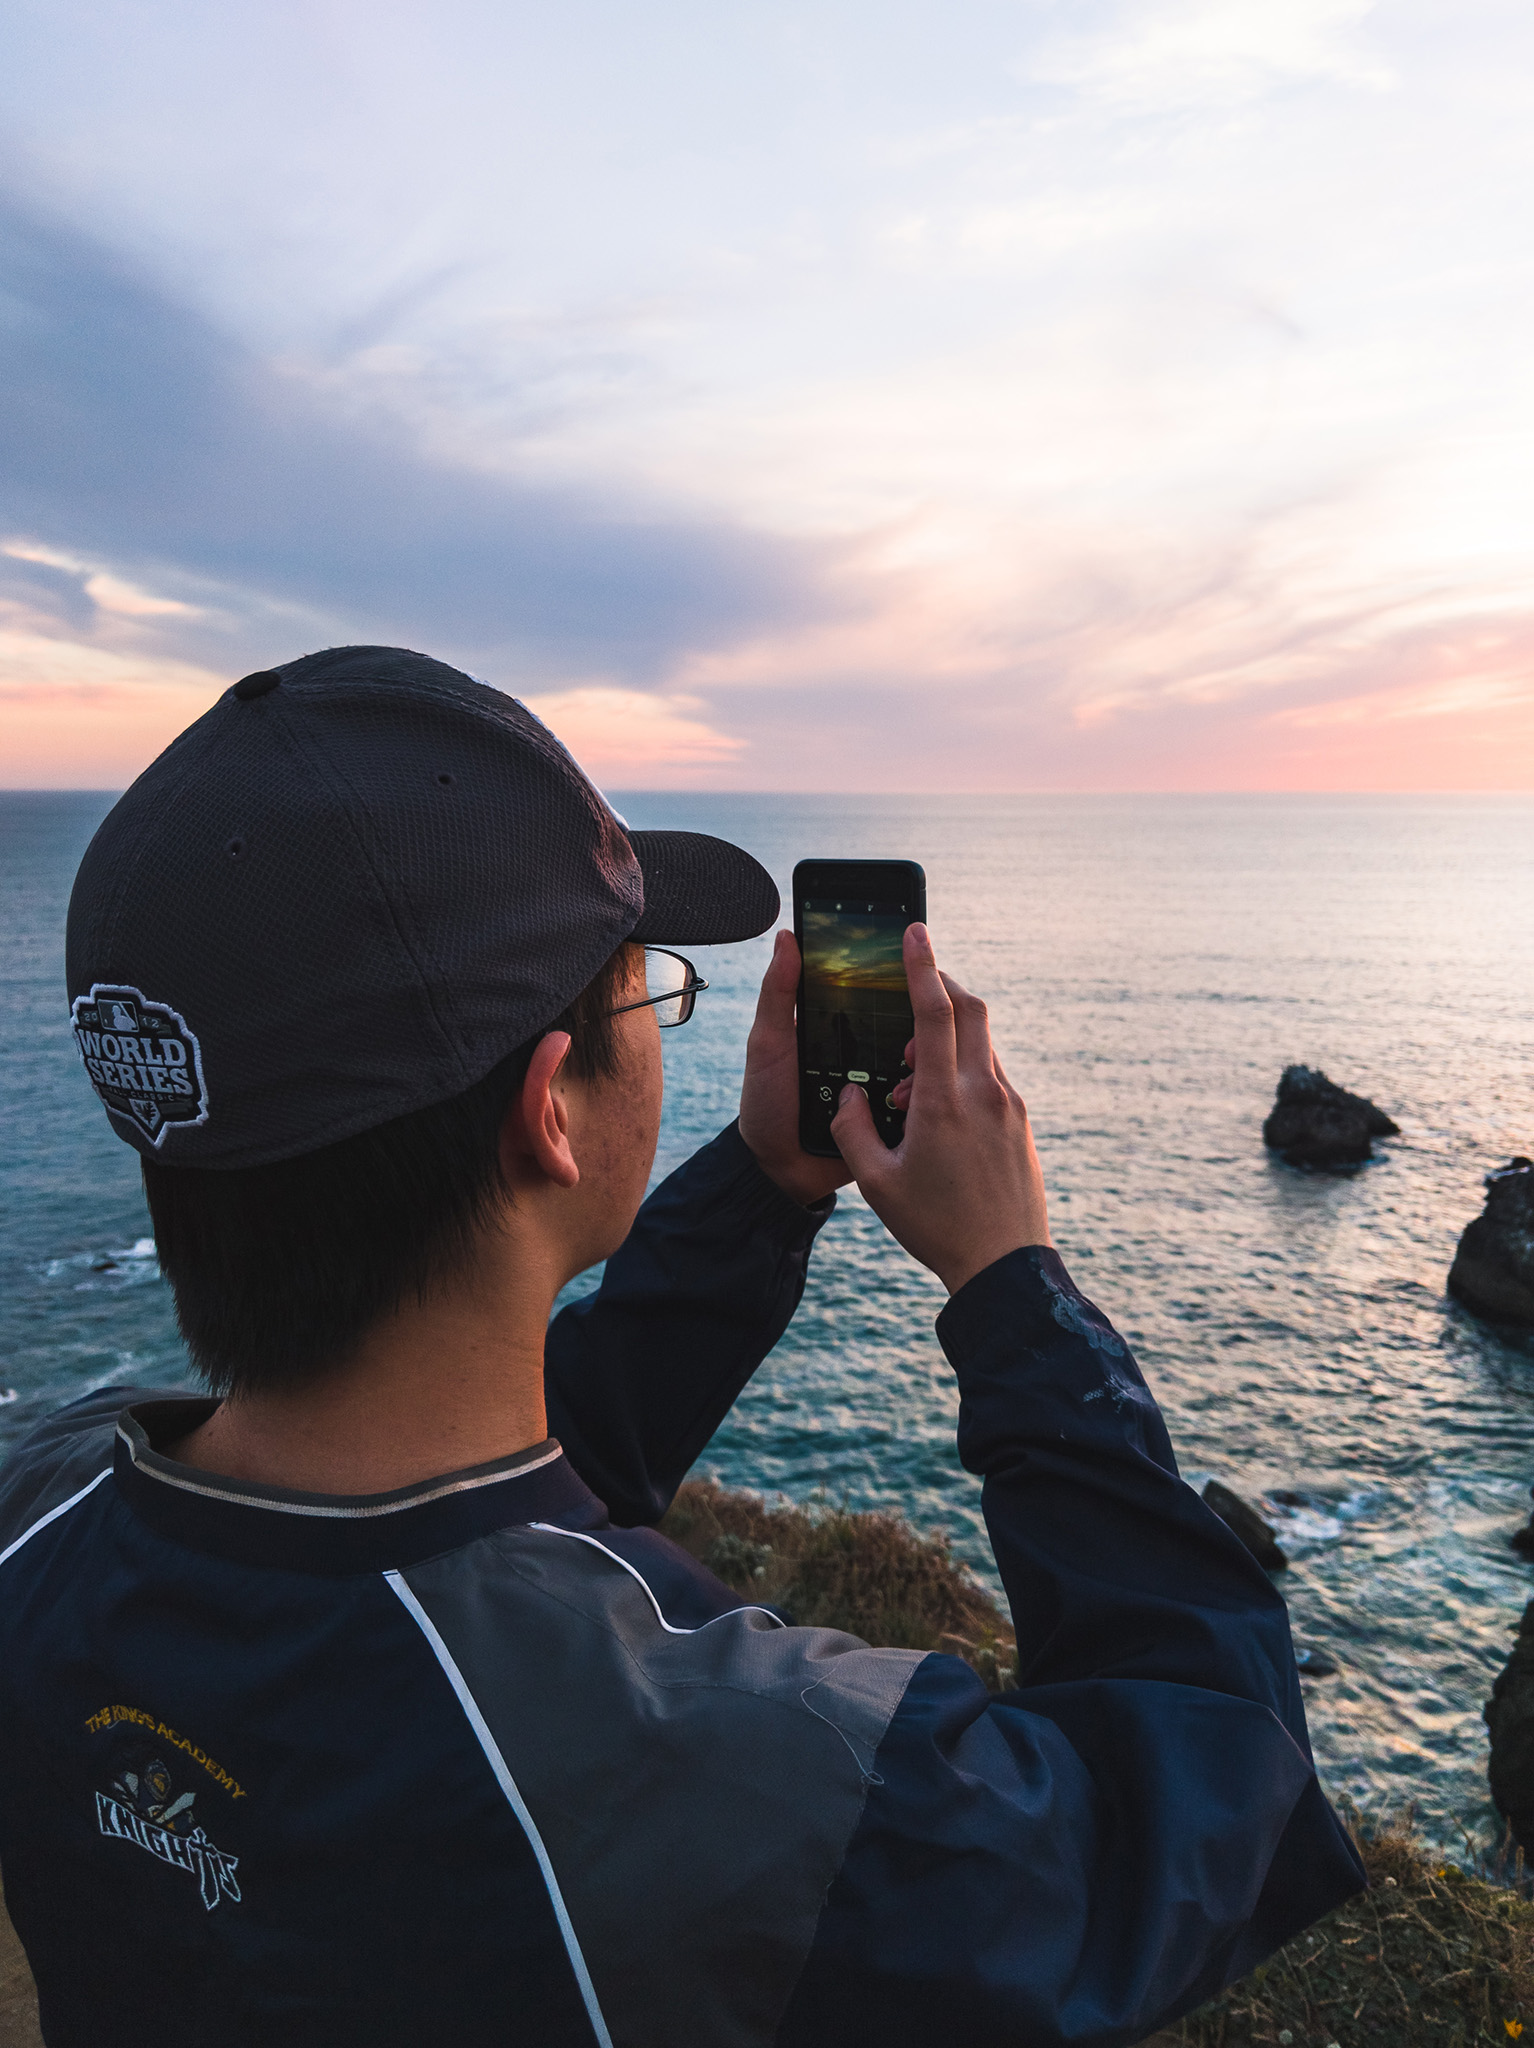
My brother taking a photo with a Pixel 2. Taken with a Pixel 2 and raw edited in Lightroom mobile/Lightroom CC
Pixel 2 time-lapsing at Lassen Volcanic. Taken with a Pixel 2 and raw edited in Lightroom mobile/Lightroom CC
I guess one of the things that I think is important for me when I do photography is the creative part of not only thinking about how to compose a subject with the best light and mood, but also how I go about editing the photo to realize those feelings and mood I want to capture. With the new raw support and the simple workflow enabled by Adobe Lightroom mobile (and its desktop app too), I found myself taking more time and enjoying practicing photography with my phone again. Previously when I did photography on my smartphone, I would plug in my phone to my computer, transfer the files, and then load it into the now named Lightroom Classic or Photoshop to edit. Soon, I stopped spending time practicing smartphone photography when I started using a dedicated camera because the workflow for my smartphone was the same as using a dedicated camera – and in that case, I could get better image quality using a dedicated camera, so why use my phone?
The great thing about the Pixel’s raw file is that it still includes all the data from the computational photography processing including how they stack multiple photos taken sequentially to improve dynamic range and detail while reducing noise. This allows you to retain all the detail, dynamic range, and color depth that the processing has improved while still retaining the typical raw photo flexibility. Or in other words, the raw file the best of both worlds making it better than the original raw file from the standard ISP camera module and Google’s computationally processed JPG file.

High dynamic range scene taken with the Pixel 2. Raw edited in Lightroom mobile/Lightroom CC
For example, in the photo above, Google’s Auto HDR captured the colors in the highlights without blowing them out while still retaining details in the shadows. This is a scene that would have not been possible to capture on my previous smartphones without blowing out the highlights or having the foreground be a complete silhouette. In fact, for the photo I was taking with my camera (as seen in the photo above), I ended up blending multiple exposures to capture the full dynamic range of the scene (you can see that final photo part way down in my last blog post). While the photo I ended up with on my full frame Sony camera is much more detailed than the one from my Pixel, that is to be expected for a much larger camera sensor versus the Pixel camera. But the fact that Pixel was able to do it all automatically within a couple of seconds after taking the photo is very impressive.
Edited raw Pixel 2 low light example with Lassen Peak

Edited raw Pixel 2 low light example at Lassen Volcanic National Park
Last summer, I visited Lassen Volcanic National Park, and I took these two photos above with my Pixel 2 – both of which were taken after sunset. I took the first photo as I was walking back to the car after I had already packed up my main camera gear, and I took the second photo while waiting for the milky way to rise with my time-lapse rig. In both of these low light situations, it is pretty impressive much detail and minimal noise is in the final photos. One thing to note is that both of these photos were taken handheld. Typically when you are taking a photo of a landscape under low light conditions, you want to set up a tripod to take a long exposure to allow more light to reach the sensor; therefore, the final image will have less noise. Instead, the Pixel takes multiple shorter exposures, then automatically aligns and stacks the images to produce a sharper overall image with less noise. When I was first starting my journey in photography with my first smartphone, I remember doing the same thing. I took multiple consecutive photos in burst mode before aligning and stacking them in Photoshop to get a sharper, lower noise image. Additionally, I discovered that I could create a longer exposure look with the blurred water by doing this process.
For the longest time, smartphone cameras have improved each generation by improving the physical hardware on the device; but there becomes a point where you cannot put a significantly better camera module inside a phone due to size constraints. What is so interesting about the Google Pixel line of devices is that for the last 3 generations, they have essentially had the same main camera sensor in all of them (Sony IMX362 in the Pixel 2 and a slightly newer variant Sony IMX363 in the Pixel 3 and 4). This means that Google is choosing to improve the image quality by improving their software rather than the actual camera hardware. With the Pixel 5 set to launch later this fall, it will be exciting to see what new software tricks Google has up their sleeve.
Thank you for reading my blog post, and I hope you enjoyed reading it! If you want to see more of my Pixel 2 photos, you can read this blog post where I went on a last minute sunset adventure with my mom and brother. This was back when the Pixel 2 only shot JPG.